
Lesson 8
Start Baking: The Autolyse and Hydration Rest
Before the final kneading, give freshly milled flour time to take in its liquid. Whole-grain flour includes the bran and germ as well as the starchy center. The bran absorbs water, and that hydration takes time. A rest can make the dough easier to work with and gives the gluten-forming proteins a head start before kneading.
Why I Don’t Skip This Step
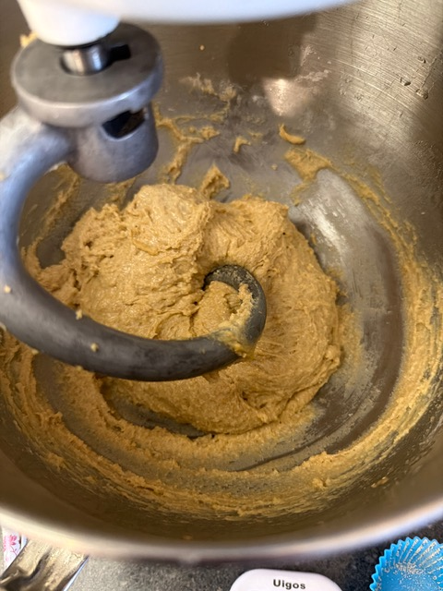
Fresh-milled dough can feel wet or sticky right after mixing. That does not always mean it needs more flour. During the rest, water continues moving into the flour and the bran begins to soften. When you start kneading afterward, the dough can come together more readily.
The rest does not replace kneading. Hydrated gluten proteins still need mixing and kneading to form the stretchy network that helps dough hold gas and rise. The rest simply gives the flour a head start.
Traditional Autolyse vs. a Hydration Rest
Traditional autolyse
Mix flour and water only, then cover and rest. Salt and yeast are held back. Because there is no yeast or starter in the bowl, fermentation is not underway during this rest.
This gives the flour time to hydrate and the dough time to become more extensible before the rest of the mixing.
Hydration rest for enriched bread
For many fresh-milled sandwich breads, I mix the flour with the recipe’s liquid ingredients and hold back the yeast and salt. Depending on the recipe, the liquids may include egg, honey, or oil. This is a practical hydration rest, rather than the strict flour-and-water-only autolyse.
It still gives the whole-grain flour time to absorb liquid before the yeast and salt are added.
One more term: If a recipe includes yeast or sourdough starter in the resting dough, fermentation starts during that time. Bakers often call that a fermentolyse. In my method below, I hold yeast back, so the rest is a hydration rest.
My Fresh-Milled Dough Method
- Combine the flour and liquid ingredients. Hold back the yeast and salt.
- Mix only until no dry flour remains. There is no need to knead yet.
- Cover and rest for 45–60 minutes. Other recipes may use a shorter rest, but I don’t cut corners here.
- Add the yeast and begin developing the dough. Knead briefly, then add the salt.
- Continue kneading until the dough is smooth, elastic, and developed. A windowpane test can help: stretch a small piece gently and see how thin it becomes before tearing. Bran flecks may keep whole-grain dough from making a perfectly smooth, transparent window, so use the test as a guide along with how the dough feels.
Practical tip: If the dough feels sticky after the first mix, cover it and let it rest before adding extra flour. Fresh-milled flour may absorb more water as it sits.
Research on wheat bran hydration finds that bran’s hydration properties affect dough development and mixing. See the study “Impact of Wheat Bran Hydration Properties … on Optimal Dough Development in Bread Making”.