Lesson 9
Mixing and Developing Gluten
After the flour has had time to hydrate, the next step is to develop the dough. Mixing, kneading, and folds strengthen and organize the gluten network so the dough can stretch around fermentation gases and hold its shape.
If you want the basic explanation of what gluten is and how it works in bread, start with What Is Gluten? and the video. This lesson focuses on how I develop gluten in fresh-milled dough.
What Gluten Development Gives the Dough
- Strength to hold its shape
- Stretch and elasticity as the loaf rises
- A network that can hold gas bubbles from yeast or sourdough
- A soft, chewy crumb when the dough is fermented and baked well
Whole-grain dough can take patience. Bran and fiber absorb water and may interrupt the gluten network as it develops. The hydration rest from Lesson 8 gives the flour time to take in water first. Then mixing, kneading, or folds build the structure. Grain, grind, water, temperature, and recipe all affect how the dough behaves.
What Washed-Out Dough Shows
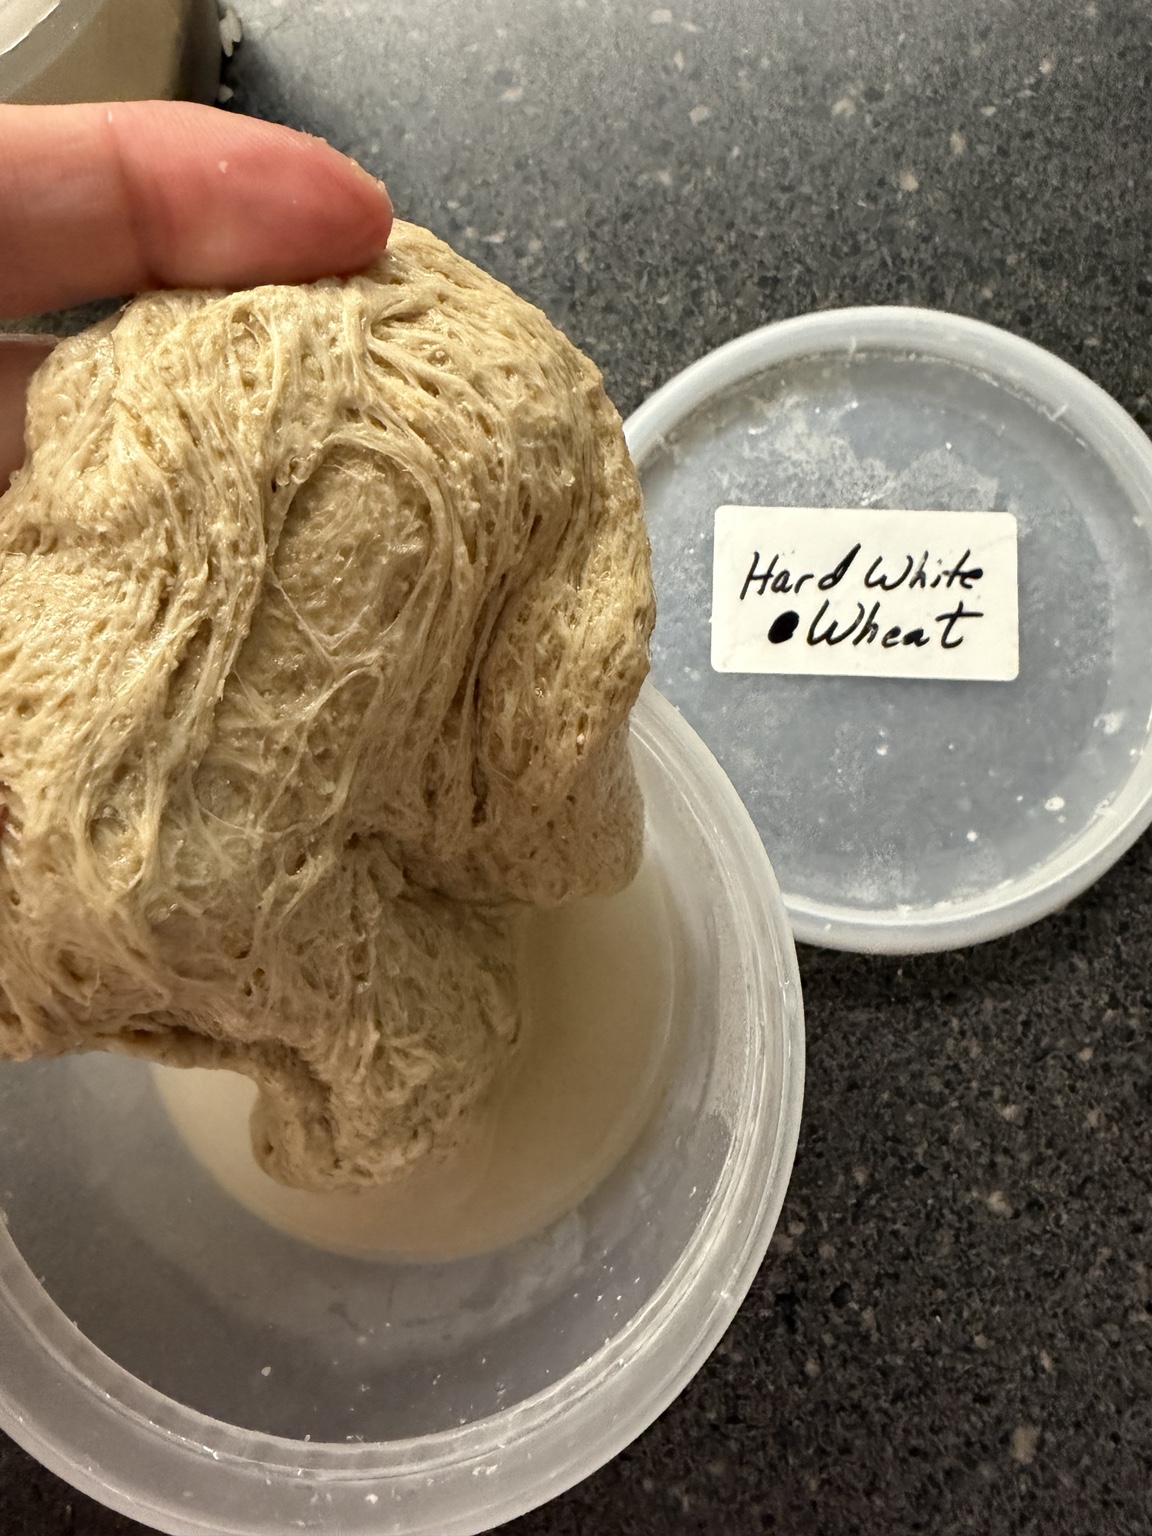
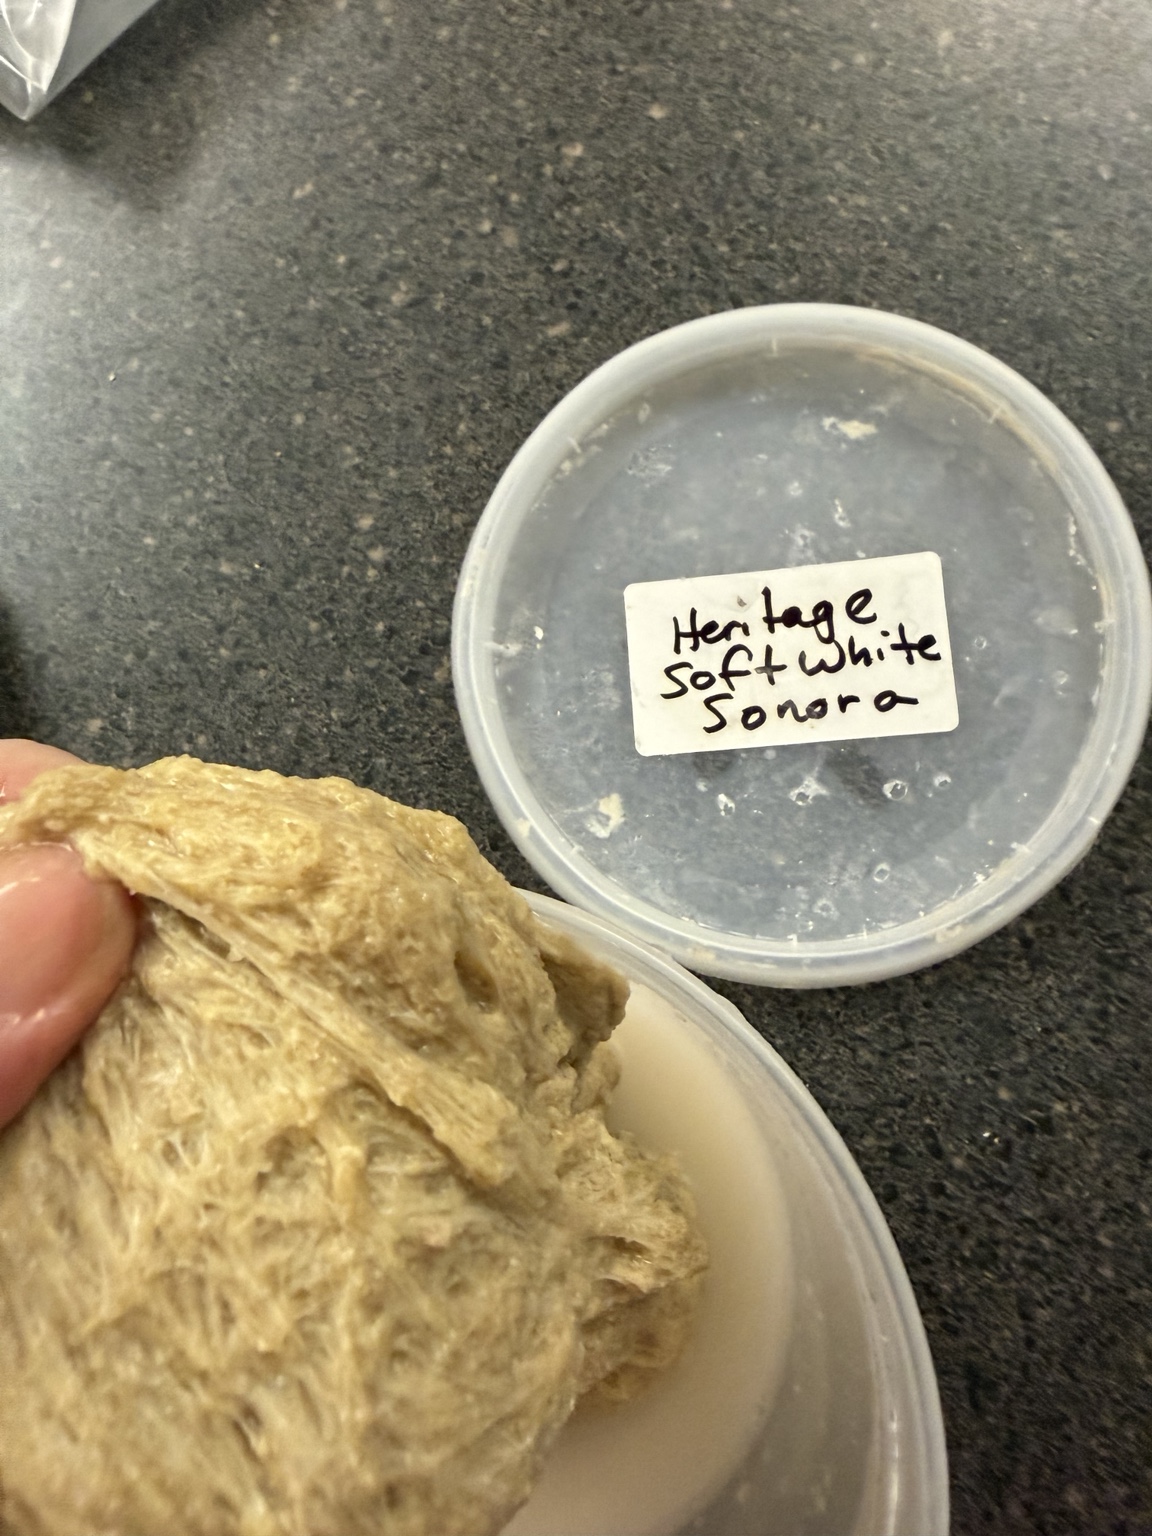
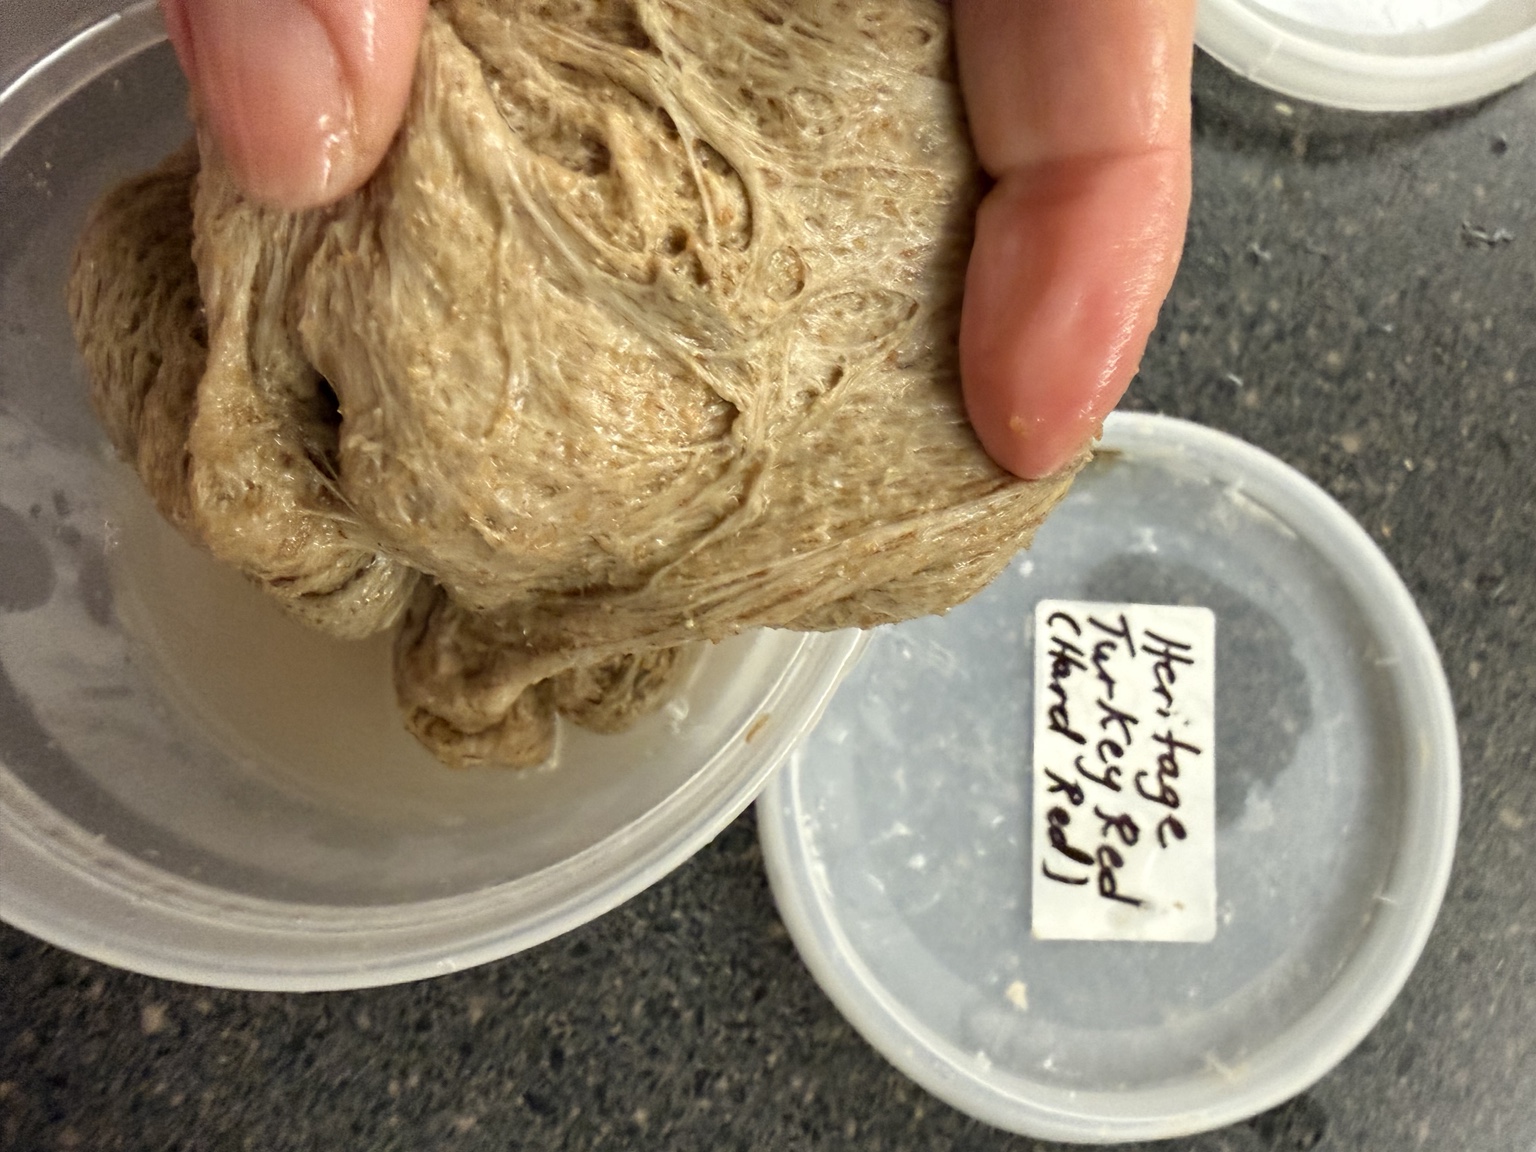
When I rinse dough, much of the starch washes away and leaves a stretchy, gluten-rich mass behind. It may look a little strange on its own, but it helps make gluten easier to see: in bread dough, this stretchy network holds gas bubbles so the loaf can rise. These samples come from different wheat flours; the leftover mass can also contain bran and other grain particles.
Ways I Develop Gluten
Kneading by Hand
Works well when: you want a small batch, hands-on control, or a way to feel the dough change. After the hydration rest, stretch, fold, and press the dough until it becomes smoother and more elastic.
Stand Mixer
Works well when: you bake regular sandwich loaves or larger batches and want steady mixing with less effort. For most of my bread, I use my Professional KitchenAid stand mixer with the dough hook on Speed 1 after a 45–60 minute hydration rest. Watch the dough and stop to check it; time varies with the flour, hydration, temperature, and batch.
Slap-and-Fold
Works well when: a sticky, higher-hydration dough needs strength early in mixing. Lift the dough, slap it onto the counter, then fold it over itself and repeat. It can build structure without adding extra flour, but it is messy and awkward with stiff dough.
Stretch-and-Fold
Works well when: you are developing a wetter dough during its first rise, especially artisan or sourdough loaves. Stretch one side up and fold it over the center; repeat around the bowl at intervals to strengthen the dough gently.
Coil Folds
Works well when: a very wet dough is too slack to handle easily. Lift the dough from its center and let the ends tuck underneath. Repeat during the first rise to build strength gently while keeping much of the gas in the dough.
Bread Machine
Works well when: you want the machine to mix and knead a recipe sized for its pan. I often use the Dough cycle for pizza dough. If adding a hydration rest, pause after mixing the flour and liquids, then add yeast and salt and resume, following your machine’s instructions.
Rest and Hydration
Works well when: you are using fresh-milled whole grain flour. Resting gives bran time to absorb water and soften before kneading or folding, helping gluten develop more readily. See Lesson 8: Autolyse and Hydration Rest.
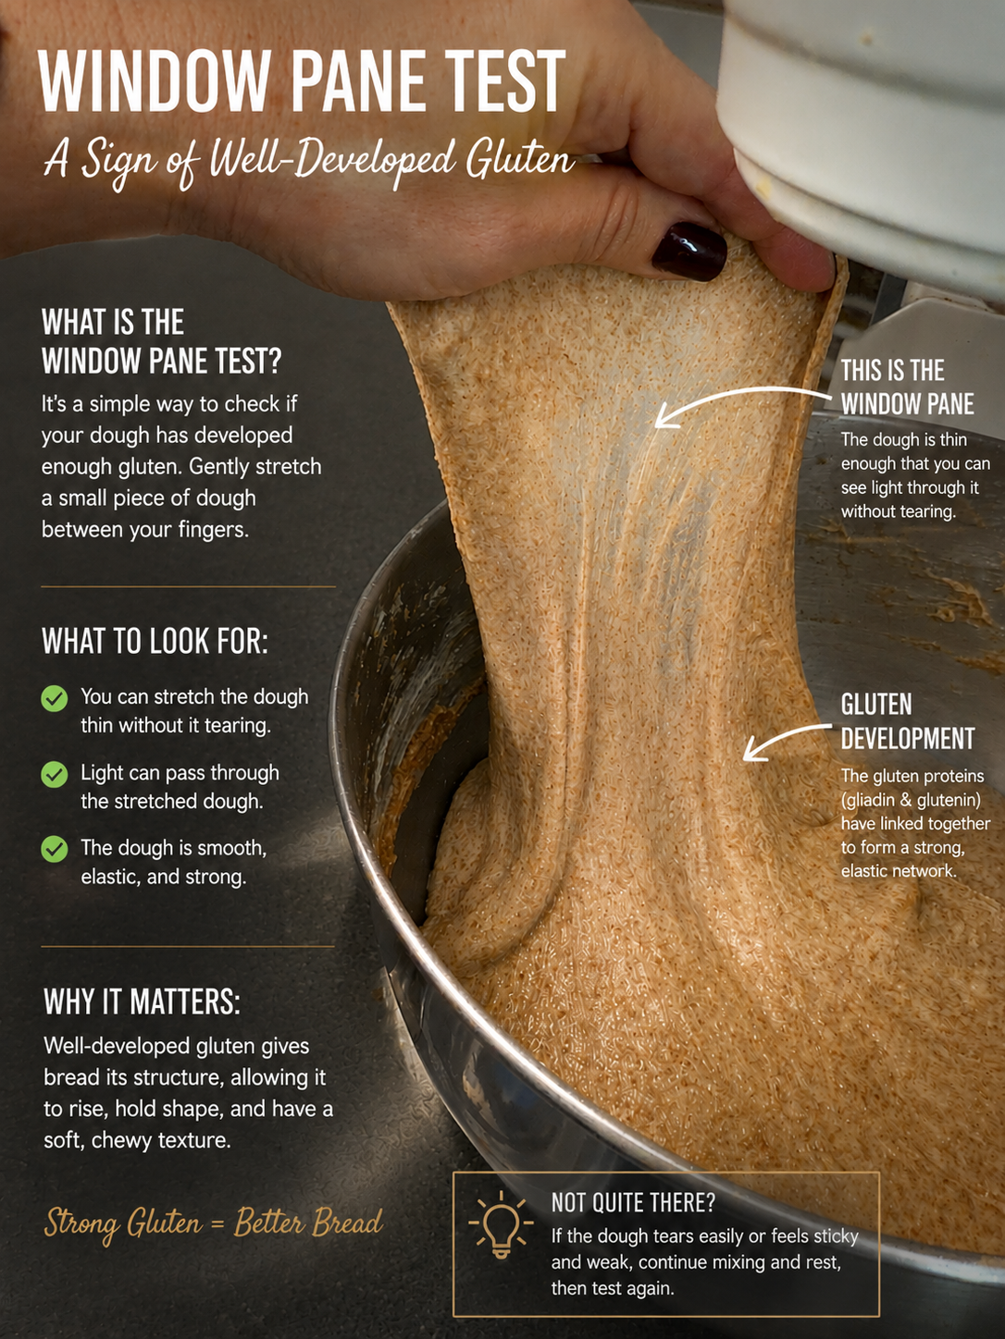
Check the Dough: The Windowpane Test
To check gluten development, pinch off a small piece of dough and let it rest for about 30 seconds. Slowly stretch it between your fingers. Well-developed dough should stretch into a thin, translucent membrane that allows light to pass through before tearing. Fresh-milled whole-grain dough may not form a perfectly smooth window because the bran interrupts the sheet, but it should still feel elastic, strong, and able to stretch without tearing immediately.
Don’t add flour too quickly. Fresh-milled dough may feel sticky before it is fully hydrated and developed. Give it the rest, then knead or fold and check again before changing the dough.
My Preferred Method
For most of my bread, I let the flour fully hydrate first for 45 to 60 minutes (autolyze), then develop the dough in my Professional KitchenAid stand mixer using the dough hook on Speed 1. During bulk fermentation, I occasionally perform one or two gentle coil folds if the dough would benefit from additional strength and organization after 30–45 minutes. For pizza dough, I usually let my bread machine handle the mixing and kneading. This approach consistently produces strong gluten development while minimizing effort.